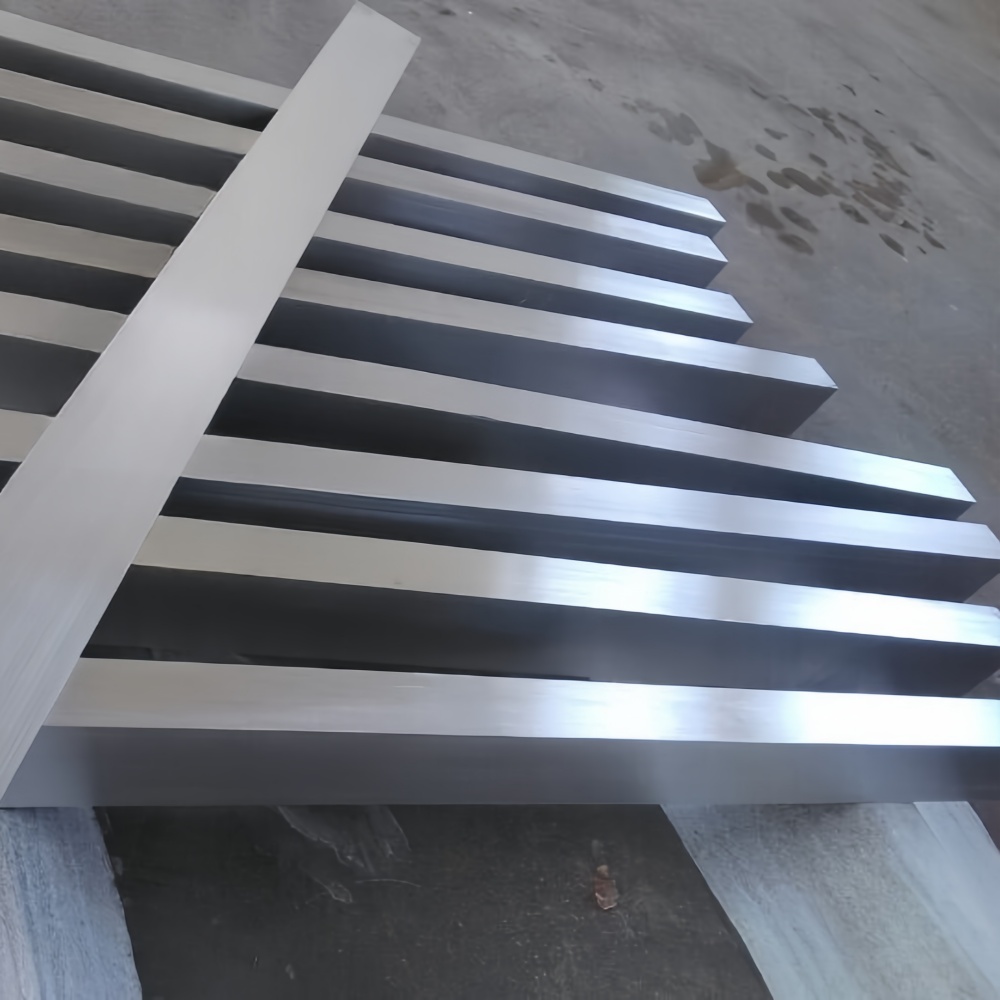
We all know that the production of titanium and titanium alloys cannot be separated from detection, and different detection requirements correspond to different detection methods. Today we summarize the current industry common flaw detection methods.
First of all, what is nondestructive testing? Non-destructive testing is a technology that uses physical or chemical means to detect internal defects, structural characteristics or performance indicators of materials without damaging the integrity of materials or structures. It is suitable for quality assessment of raw materials and welded joints. There are four kinds of non-destructive testing methods commonly used in titanium and titanium alloy industry: penetration testing ultrasonic testing, ray testing, eddy current testing.
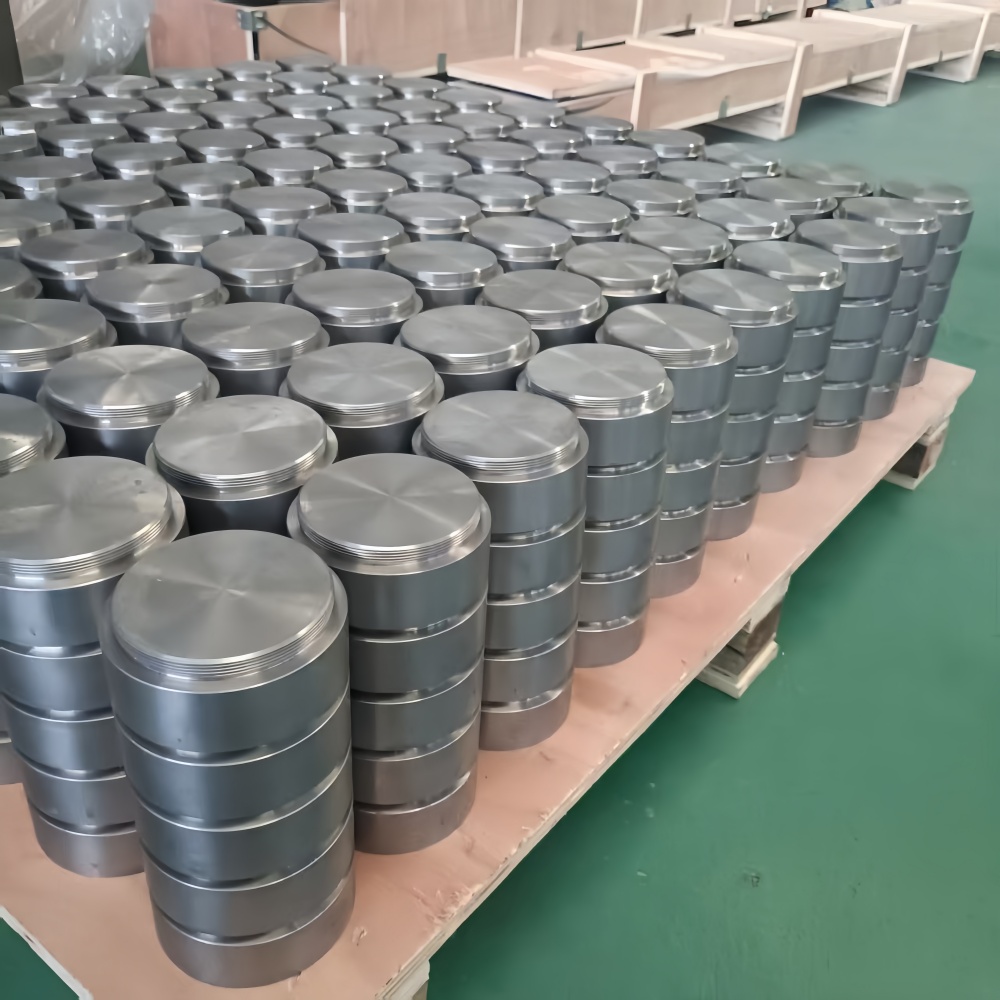
1 Penetration Testing (PT)
Principle : A specially formulated penetrant is coated on the surface of the part. The penetrant contains a dye or fluorescent substance that can penetrate deep into the opening defects on the surface of the part through the wetting and capillary interaction of the liquid. The excess penetrant is then removed and a thin developer is applied to the part. Due to capillary action, the penetrant in the defect is re-absorbed to the surface of the part, resulting in a clearly visible image of the defect. With the help of a black light (for fluorescence inspection) or a white light (for coloring inspection), the inspector can observe these defects.
a. The penetration testing method can check the surface opening defects of various non-porous materials, such as cracks, pores, folds, looseness, cold insulation, etc.
b. Penetration detection has a high detection sensitivity, ultra-high sensitivity of the penetration detection material can clearly show the width of 0.5μm, depth of 10μm, length of about 1mm fine cracks.
c. The display of penetration detection is intuitive, easy to judge, and the operation is also very fast and simple, and the defects in all directions on a plane can be detected with one operation.
d. Penetration detection also has the advantages of simple and convenient equipment, low detection cost, and suitable for field work.
Defects of penetration testing: can not detect internal defects : penetration testing can only detect the surface of the workpiece opening defects, the internal defects can not be effectively detected. limited by temperature : penetration testing is greatly affected by temperature. High or low temperature will affect the test results requires careful surface cleaning : compared with other non-destructive testing methods, penetration testing requires more careful surface cleaners.
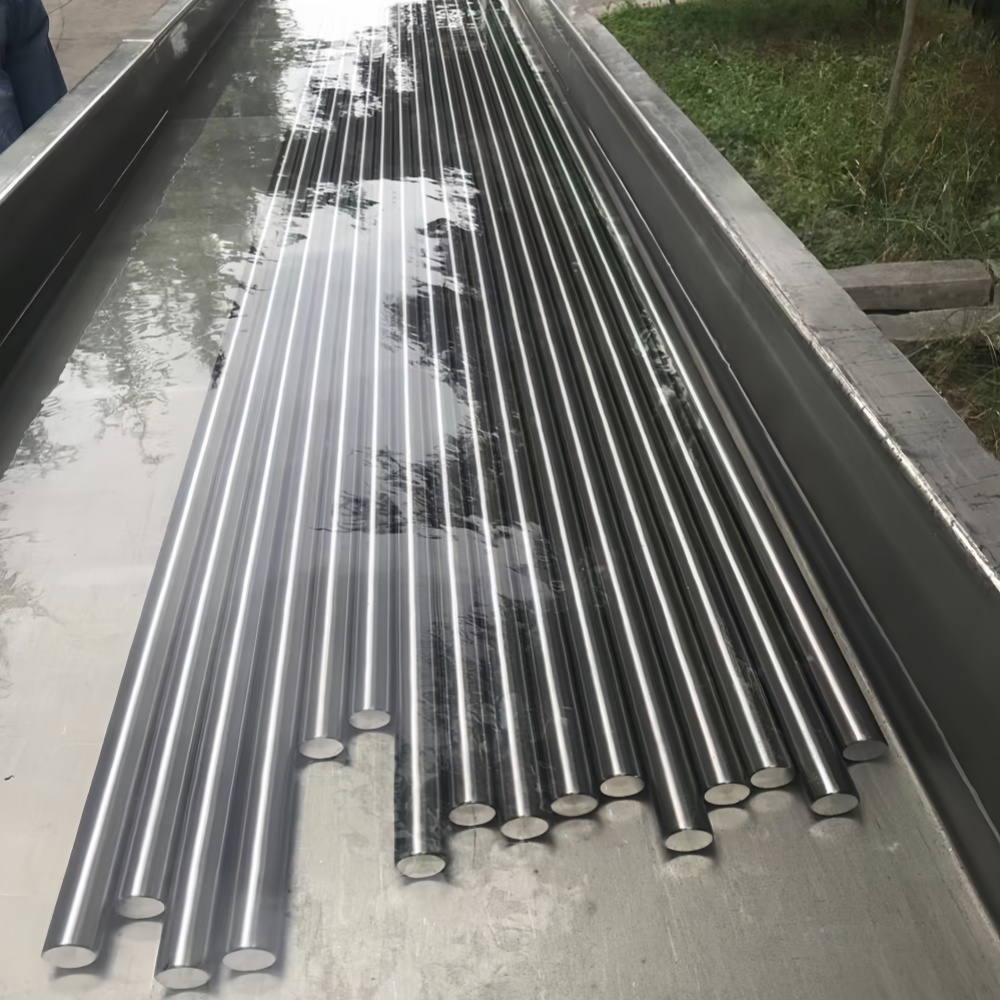
2 Ultrasonic detection (UT)
Principle : The reflected wave signal generated by the defect when the high-frequency sound wave (0.5~25 MHz) propagates in the material is used, and the location and size of the defect is determined by analyzing the echo time, amplitude and waveform characteristics.
a. Strong penetration, can detect the thickness of more than 1 m titanium alloy workpiece ;
b. Sensitive to cracks, pores and other area defects, but low sensitivity to small inclusions ;
c. Coupling agent (such as glycerin, water glass) is required to transmit sound waves, and the detection surface should be polished and smooth;
d. Need professional testing technicians and obtain certification from professional organizations.
Ultrasonic inspection shortcomings: ultrasonic inspection on the display of defects is not intuitive, the detection technology is difficult, easy to be affected by subjective and objective factors, and the inspection results are not easy to save, ultrasonic inspection on the working surface requires smooth, requiring experienced inspectors to identify the type of defects, suitable for parts with large thickness inspection, so that ultrasonic inspection also has its limitations.
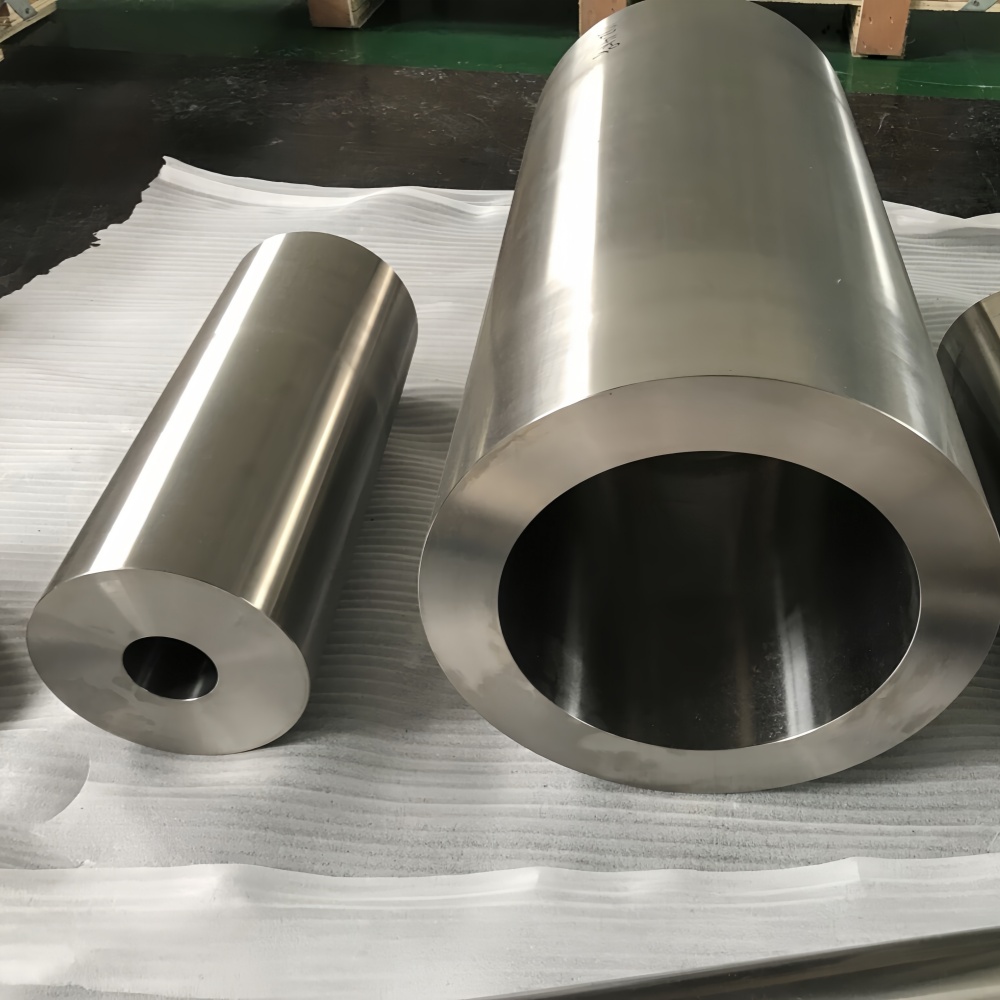
3 Radioscopy (RT)
principle : The use of X-ray or gamma rays through the material to produce intensity attenuation due to differences in density, internal defects by film or digital imaging .
a. Visual imaging, permanent recording of defect morphology (such as porosity, slag inclusion) ;
b. Sensitive to volume defects (such as pores), but limited ability to detect crack defects ;
radiation risks : ionizing radiation is released during the X-ray process. Although the amount of radiation used in dental offices is low, the long-term or disadvantages of X-ray testing are: health risks : hair loss, skin damage, reproductive damage, blood system abnormalities high cost : X-ray inspection equipment is expensive and requires specialized radiation protection measures, increasing the cost and complexity of inspection.
4 Eddy current testing (ET)
Principle: Eddy current testing refers to the non-destructive testing method that uses the principle of electromagnetic induction to assess certain properties of conductive materials and their workpieces, or to find defects, by measuring the changes of eddy current induced in the workpiece under test.
a. Non-contact detection, suitable for titanium alloy sheet (0.1~5mm) surface and near-surface defects ;
b. Sensitive to changes in electrical conductivity, can detect changes in oxide film thickness, but not applicable to deep defects .
Disadvantages of eddy current testing: is difficult to apply to defects with complex shapes : eddy current testing is difficult to apply to defects with complex shapes, because the detection results mainly reflect the situation of the surface or near the surface, and the detection effect is not good for deep-seated defects. defect graph : eddy current testing cannot display the defect graph, so it is impossible to judge the nature of the defect from the display signal there are many interfering factors in the detection : eddy current testing is prone to be affected by a variety of interfering factors, which may produce chaotic signals and affect the accuracy of the test .
Different products of titanium and titanium alloy have different product standards, and different standards have different requirements for flaw detection. Nondestructive testing is an important step to ensure product quality and safety. By choosing the right nondestructive testing method and following the standard testing process, the defects in the products can be found and treated in time, and the overall performance and service life of the products can be improved. With the continuous development and improvement of non-destructive testing technology, its application prospects in the detection of titanium and titanium alloys will be more broad.
